Expert Tips and Tricks for a Flawless Bathroom Tile Installation in 2023
Are you looking for a great way to add style and functionality to your bathroom? Undoubtedly, bathroom tile installation is one of the best ways. Generally, tile is a popular choice for bathrooms due to its durability, ease of cleaning, and various colors and patterns that fit any design style.
Regarding tile installation, some factors need to be considered: choosing the suitable tile material and design, preparing the surface and applying adhesive, paying attention to detail, and having the right tools and skills.
Keep reading this piece to get familiar with tile placement in bathrooms.
Selecting the Right Tile Material
Selecting the suitable tile materials is a crucial step at the initial stage. Here are some examples of the right materials for bathroom tiles:
- Porcelain and ceramic tiles are famous because they are durable, easy to clean, and moisture-resistant.
- Stone tiles, such as marble, granite, and slate, are also great options but require more maintenance.
- Recently, glass tiles have become popular in bathroom designs due to their reflective qualities and ability to create a luxurious look.
Always remember that to achieve the desired look, you need to consider the size and color of the tile and the grout color.
Preparing the Surface
Where the tiles will go must be free of dust, grease, and other trash. When adding glue, the surface must also be flat and fully dry. If the surface is not flat, you must use a self-leveling product to make it flat. Lastly, you must remove any old tiles, flooring, or paint.
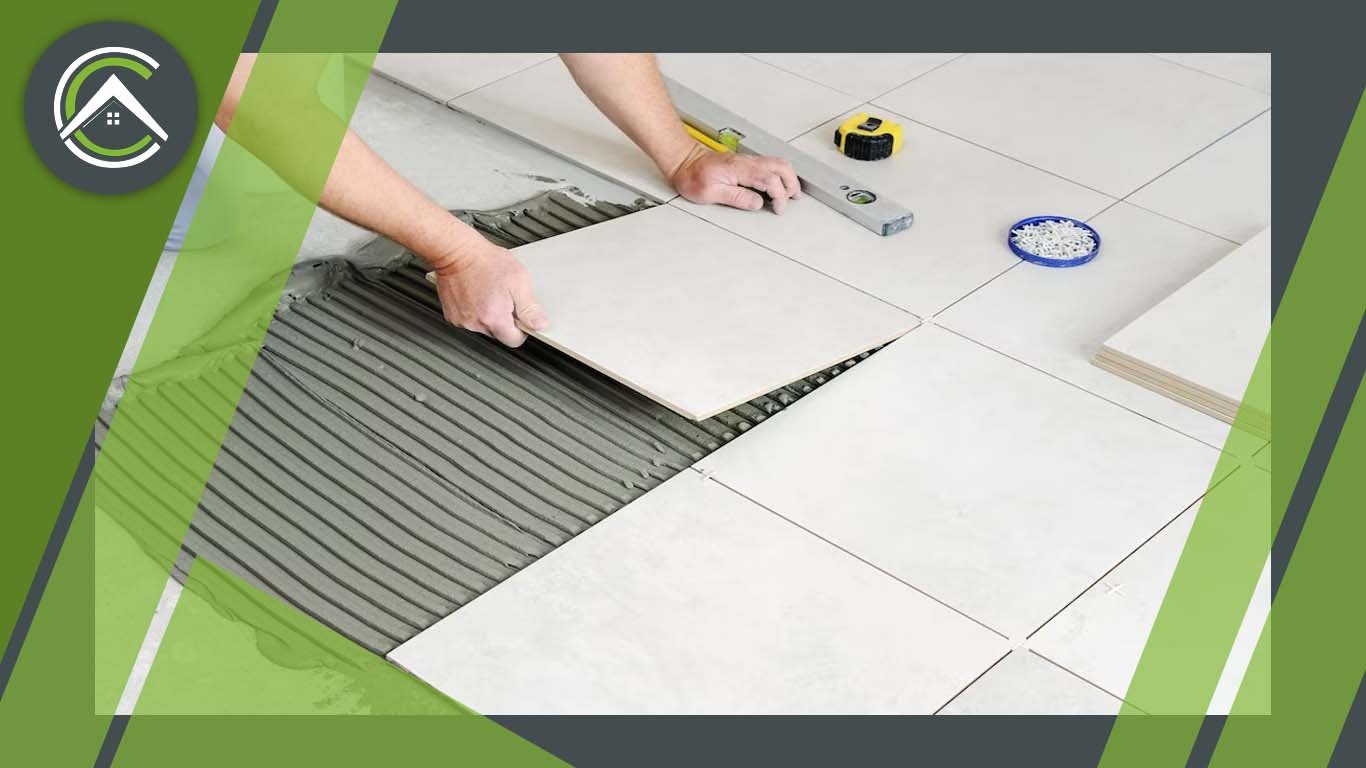
Applying Adhesive
The type of glue depends on the type of tile and the area where it will be put. The most miniature mortar is usually used for ceramic and porcelain tiles, while mastic glue is often used for glass and natural stone tiles.
Use a notched shovel to spread the glue and ensure it is distributed evenly and in the right amount. The tiles are then put on the bond, ensuring they are all level and have the same distance. Tile spacers can be used to ensure the tiles are spaced out correctly.
Grouting
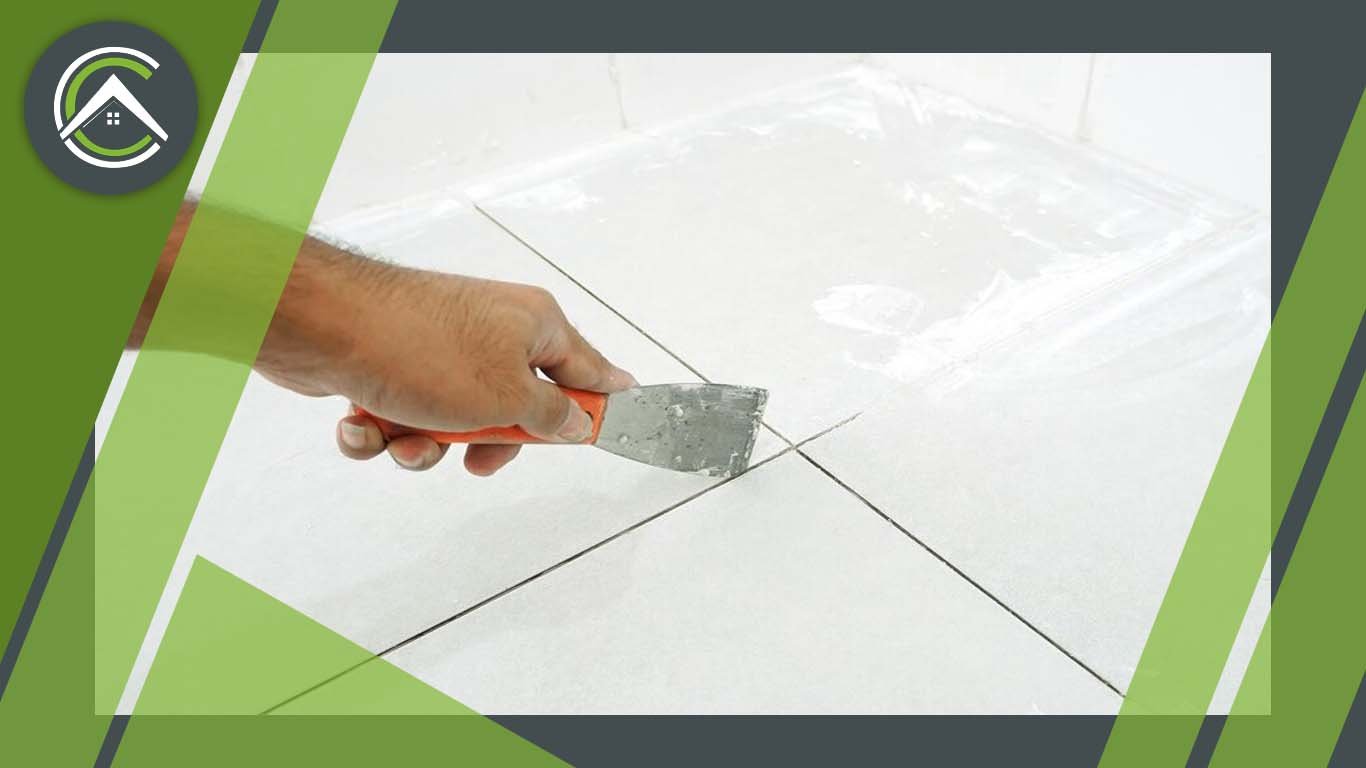
After the tiles have been installed and the adhesive has dried, grout is applied to the spaces between the tiles. The grout is spread evenly using a rubber float and then cleaned with a damp sponge. It is essential to remove any excess grout before it dries. Once the grout has dried, a sealer can be applied to protect it from moisture and stains.
Bathroom Tile Installation Steps
- The first step involves taking measurements of the space, selecting the appropriate tile size and shape, and determining the tiles' pattern and orientation.
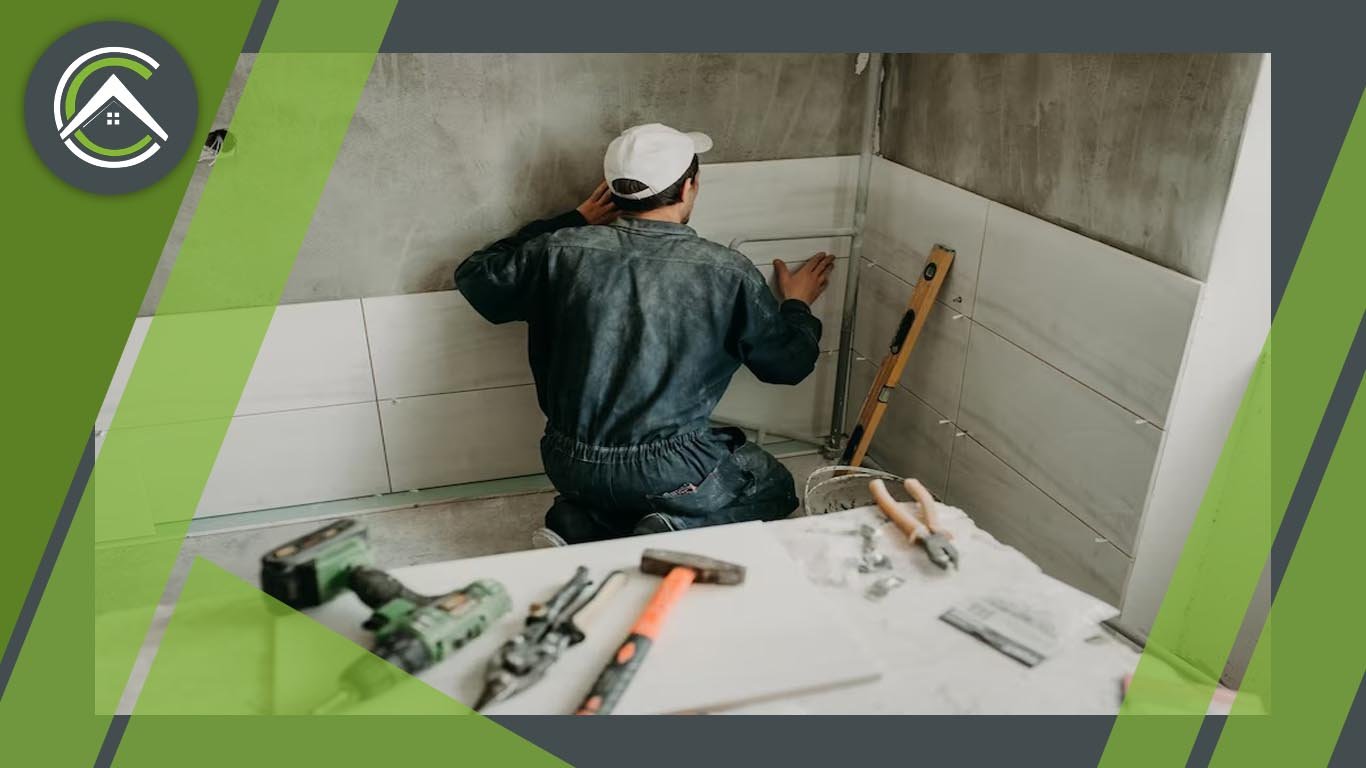
- Then, you must remove existing flooring or wall coverings, repair cracks or holes, and ensure the surface is clean, level, and dry.
- After preparing the surface, the adhesive should be applied to the substrate using a notched trowel. The bond must be applied in small parts to avoid drying up before tile installation.
- With the adhesive applied, the tiles are carefully laid out in the desired pattern and pressed into the glue. Spacers ensure even spacing between the tiles, and any cuts or adjustments are made using a tile cutter or saw.
- After tile installation, the adhesive must be allowed to dry completely before any further work. This typically takes 24-48 hours, depending on the type of adhesive used and the temperature and humidity of the space.
- Then, using a rubber float, you need to apply grout to the gaps between the tiles. The grout is then smoothed and shaped to create an even and seamless surface.
- In the last step, use a damp sponge to remove excess grout. Next, the leftover grout haze or residue needs to be wiped out, and then the tiles should be polished off.
By following these steps and working with a skilled contractor, you can achieve a beautiful and long-lasting tile installation in your bathroom.
Bathroom Shower Tile Installation Cost
The cost can vary widely depending on several factors. These factors include the type of tile used, the size and complexity of the shower area, the cost of labor in the local area, and any additional materials or equipment required for the job.
On average, homeowners can expect to pay between $1,000 and $4,000 for a professional bathroom shower tile installation, potentially reaching as high as $10,000 or more for larger or more complex projects. DIY installation can save money but requires significant skill and knowledge to ensure a successful outcome.
FAQ
How to install bathroom tile?
Bathroom tile installation involves preparing the surface, applying adhesive, laying out the tiles, filling gaps with grout, and cleaning/polishing. Careful planning and attention to detail can result in a beautiful and long-lasting installation.
How do you tile a bathroom floor around a toilet?
- Remove the toilet flooring.
- Ensure the subfloor is clean, level, and dry.
- Cut tiles to fit the toilet area.
- Apply adhesive, and lay tiles using spacers.
- Fill gaps with grout and remove any excess.
- Install edge tiles/trim.
How to tile a bathroom floor on the floorboards?
Before you start, ensure the existing flooring is in good condition and securely fastened. Use cement-backed boards to reinforce the flooring. Cut and install the cement board, but leave a small gap around the edges to allow for expansion. Next, apply adhesive to the cement board and lay the tiles, using spacers to ensure even spacing. After the glue has dried, use grout to fill the gaps between the tiles and wipe away any excess. Finally, install edge tiles or trim pieces to polish the floor.
Remember, if you need any help or advice with your bathroom tile installation, ConfimedC is a professional contractor in this field who can assist you in achieving your desired result.
Where to start tiling a bathroom floor?
Find the room's center and lay out a dry run of tiles from there to the walls. This will enable you to decide whether adjustments are necessary, such as cutting tiles to match the room's edge. Once you have established the layout, start laying the tiles in small sections, using spacers to ensure even spacing between the tiles. Work outward from the center point, and remember to periodically check that the tiles are level and in the correct position.
Final words
In conclusion, bathroom tile installation is a great way to enhance the look and functionality of your bathroom. Whether you hire a professional contractor like ConfimedC or take on the project yourself, it's essential to carefully plan and execute each step to ensure a beautiful and long-lasting result. With the right tools, materials, and techniques, you can create a stunning tile installation that will bring joy and value to your home for years.


Comments
Post a Comment